Make Your Own Probiotic Sauerkraut
Do you take your health and athletic performance seriously? One of the most important things you can do to nutritionally to improve your overall health as well as maximize your athletic performance is to include probiotics in your daily practice, either through fermented foods or a supplement. Amongst many other emerging discoveries, probiotic bacteria found in fermented foods help to optimize your digestive system health. You can read an entire article about how probiotics benefit your health and athletic performance, including strength, here: Probiotics Primer.
Jump to a section
In this article I’m going to guide you through how you can make your own probiotic sauerkraut at home. It is a lengthy process, but if you plan ahead when making it, you can add an incredible probiotic source to your daily diet for months and it costs next to nothing!
Ingredients and items you will need
Ingredients:
- Green cabbage
- Non-iodized salt
Items:
- a food scale
- a crock or food-grade bucket with a sealable lid
- chef’s knife or other long, sharp knife
- large bowls or pans
- glass mason jars with lids (You will need about 3-4 1L jars per 5 lb. of kraut)
- a food processor or mandoline (optional)
- a mallet, wooden spoon or potato masher
Directions
I will focus on the method that I used originally, which works great and is the least expensive method. This is the most basic way to make sauerkraut, involving a knife, a food-grade bucket, and kosher salt or other non-iodized if you don’t have canning salt already.
- Start by washing and rinsing your plastic bucket. Use a food-grade sanitizing spray if you have one for extra safety.
- Peel and throw away the outer layers of your cabbage that are gross and touched by all the shoppers in the grocery store.
- Rinse your cabbage really well.
- Peel away a few more intact leaves and set them aside for later.
- If you are using kosher salt or a coarse salt (make sure it’s additive-free), grind it to a very fine powder before continuing.
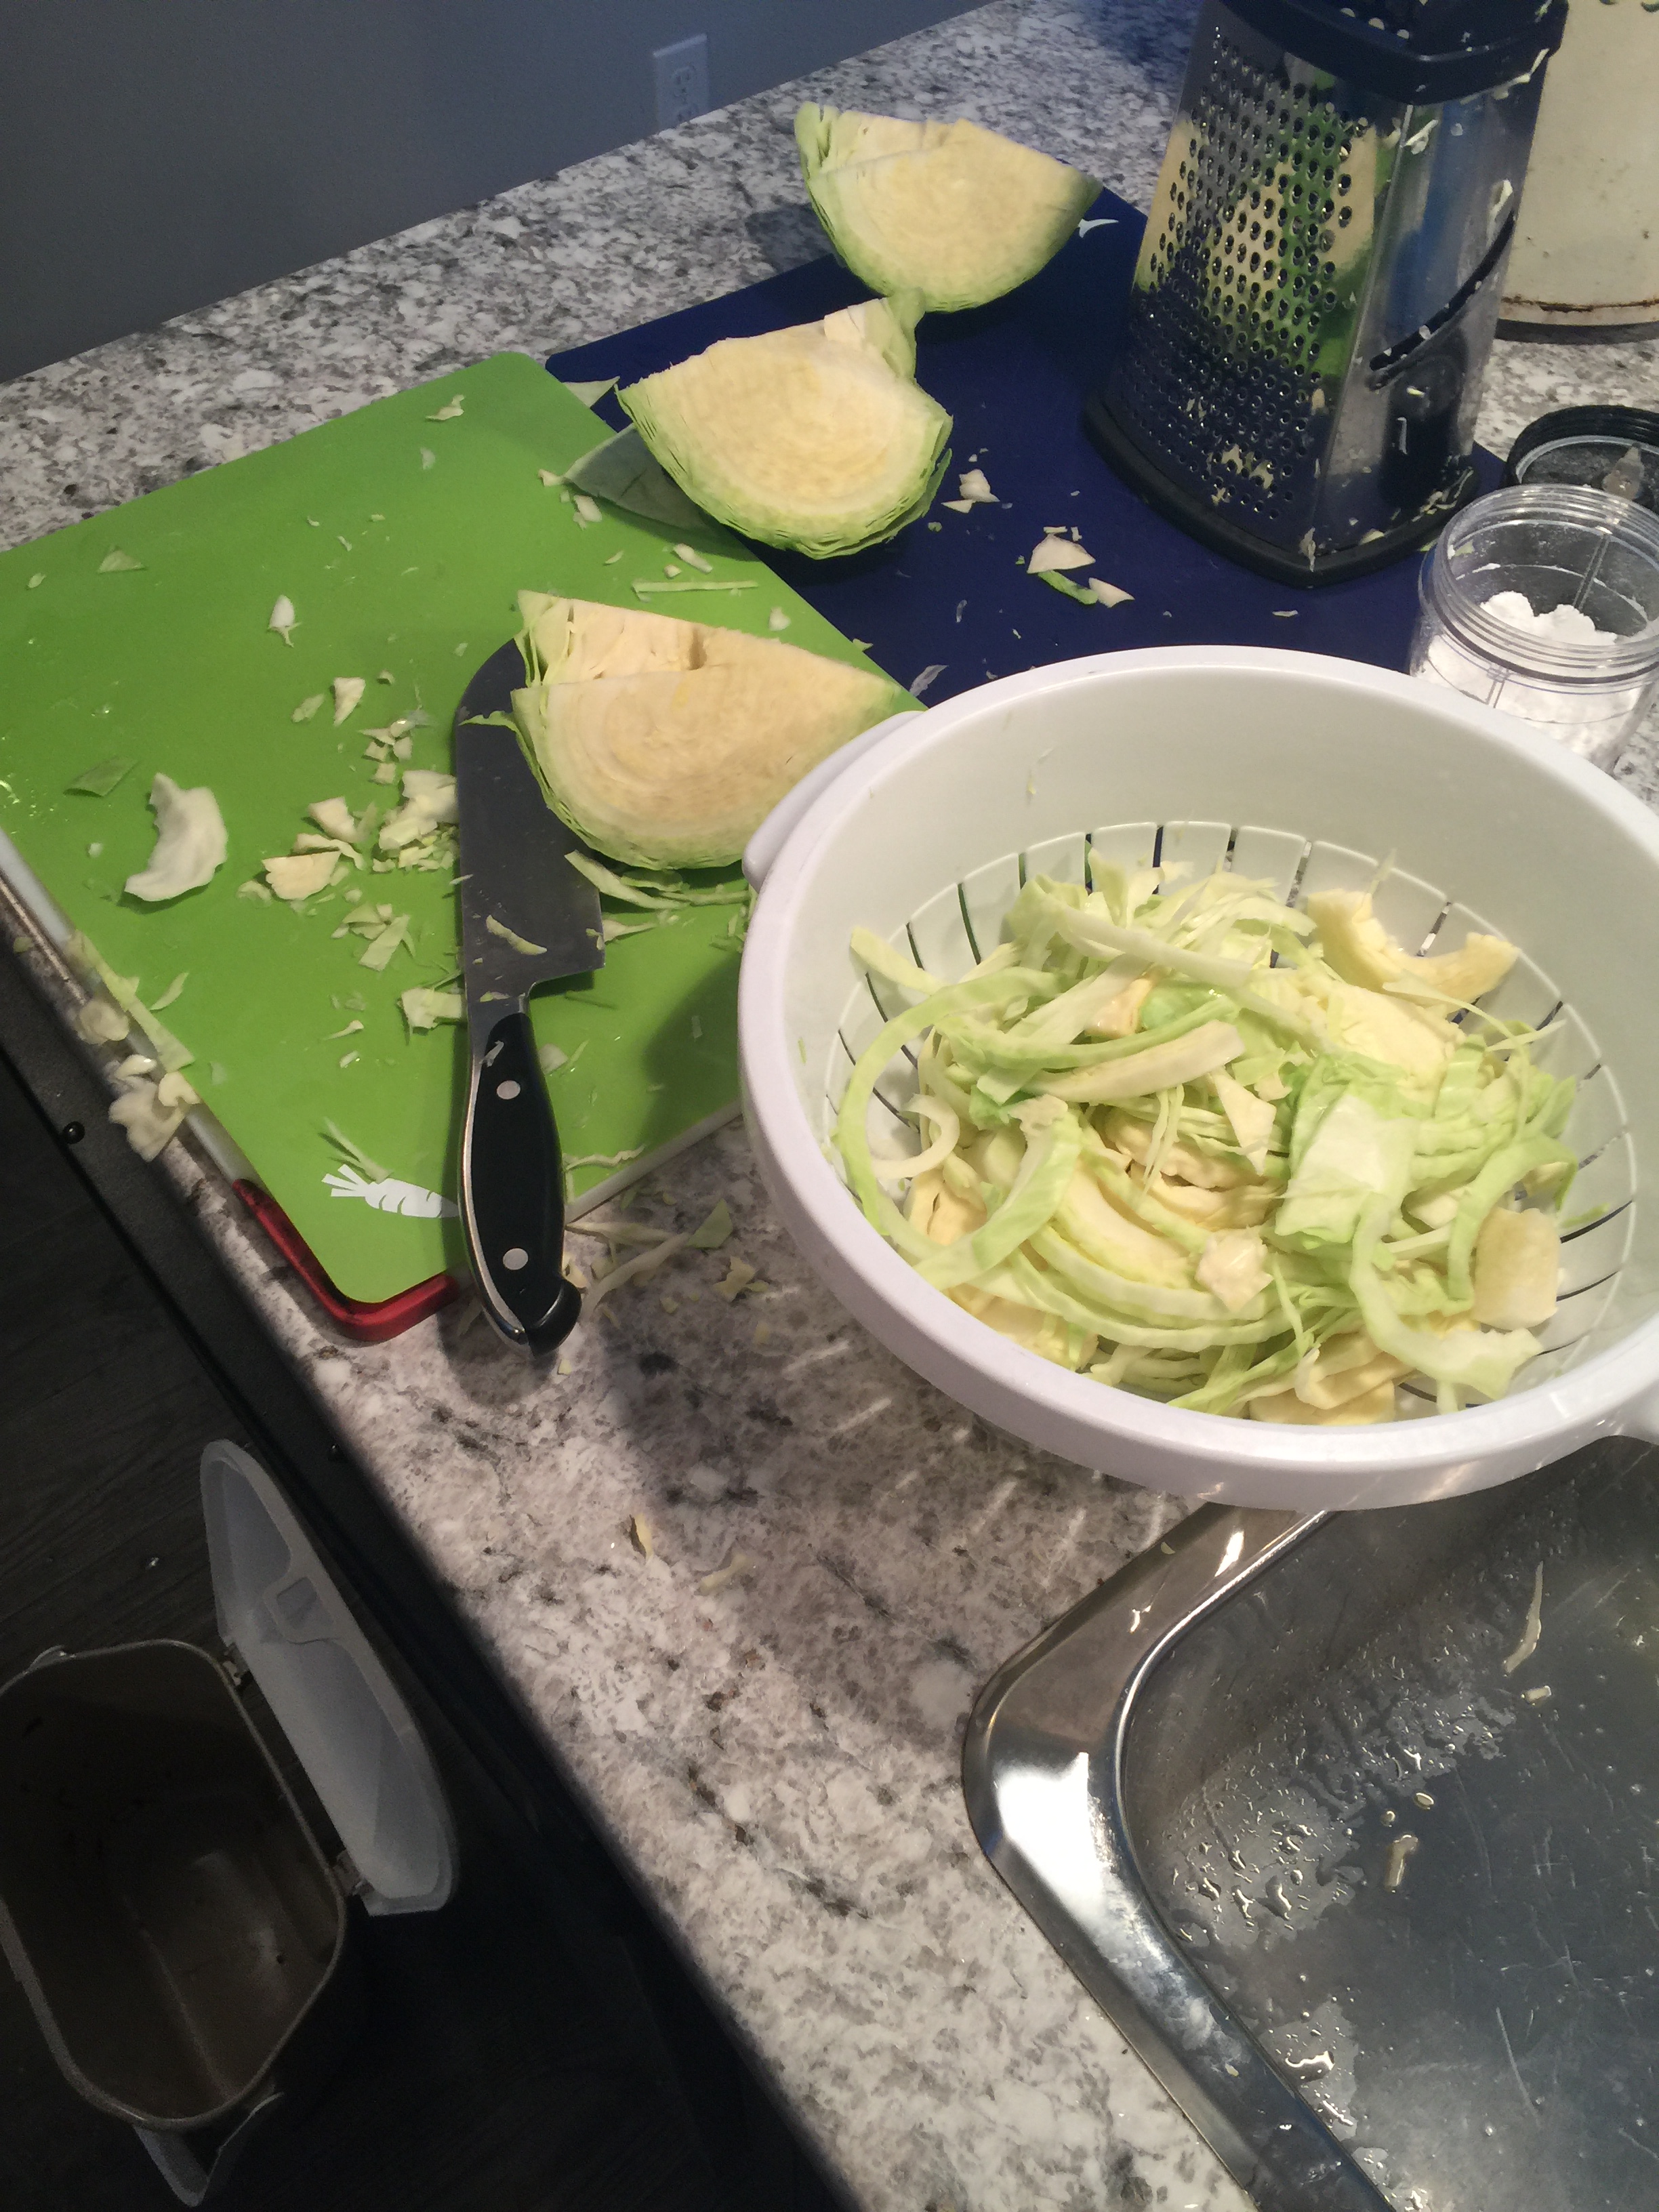
- Begin to cut up your cabbage into manageable pieces and cut out the hearts. I like to cut the cabbage into quarters and then cut out the hearts. These are the solid pieces at the core that don’t shred or ferment well.
- If you have a food processor already it will save you some time during the shredding process, you may first have to cut the cabbage down further into pieces that will fit into your food processor.
- Using a knife or your food processor, start to shred your cabbage. You will need a large bowl to transfer all your shredded cabbage into.
- If using a knife, cut your cabbage as fine as you can along the length of the leaves. The shreds will be very long and depending on your preference, you may want to cut these shredded pieces in half. Take some time to go over any pieces that look too big. In the first photo in the gallery below you can see that some of the pieces are much too big and when you go to ferment this, it will take a very long time for these pieces to ferment and soften, if at all. So make sure you cut the shreds fine enough first.
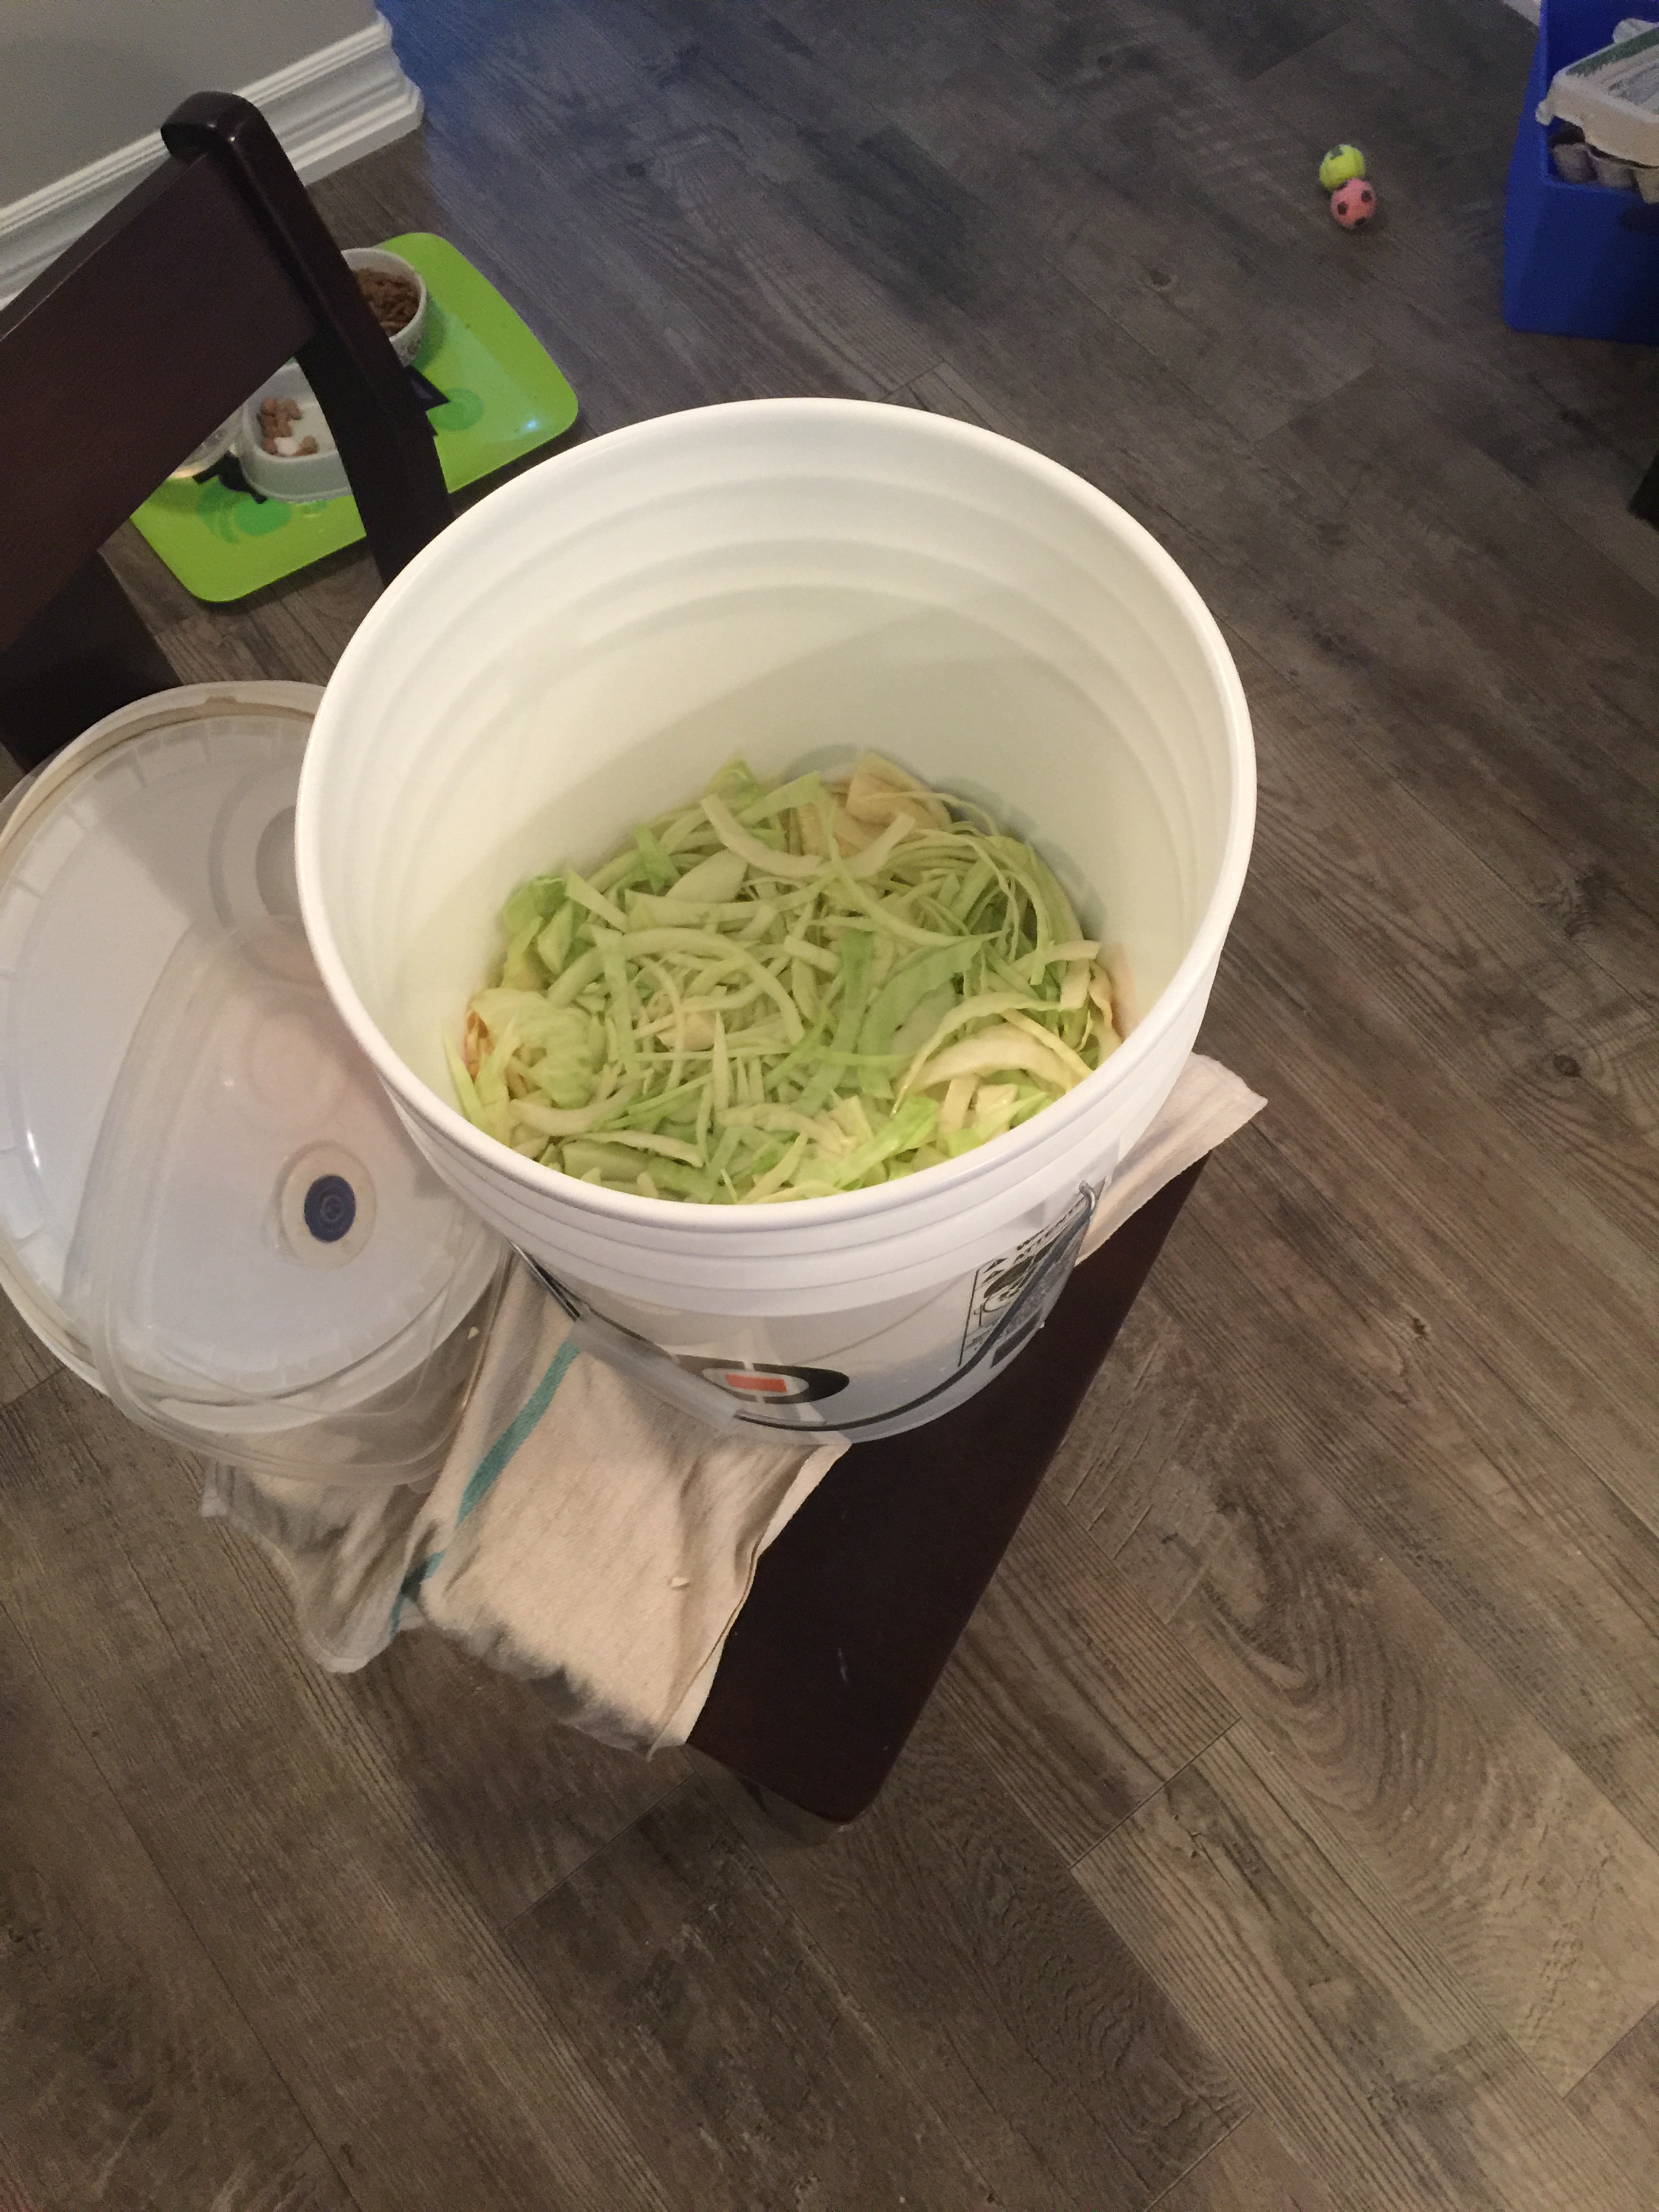
- Once you have all your cabbage shredded you can start to pack it into your bucket or crock.
- I use 2.25 tbsp of salt per 5 lb. cabbage. You can add a little more or less depending on your taste preference, but I wouldn’t go over 3 tbsp per 5 lb. or under 2 tbsp for best results. Going outside of this range will not promote the best environment for fermentation nor for preventing other microbe growth.
- Start the packing by sprinkling a little bit of your salt on the bottom of your bucket.
- For better dispersion of the salt, measure out 2.5 lb. of cabbage at a time and add half of the amount of salt you are using for 5 lb. to that (for me this is just over 1 tbsp).
- Use a mallet or wooden spoon or event a potato masher to pack down the cabbage as you go.
- Spend some time packing the cabbage down until you start to hear it squishing as water starts to get drawn out of the cabbage.
- Once all of the cabbage and salt have been added, layer those intact leaves you set aside on the surface. This will help to create an additional barrier to protect your sauerkraut underneath from mould growth and contamination.
- Place a lid or plate on top of your cabbage and weigh it down with something heavy. I use a couple of 5 lb. weight plates that are sealed in bags to keep constant pressure over the surface of the sauerkraut. Weighing it down helps to squeeze the water out of the cabbage to create a brine and keeps the cabbage fully submerged during fermentation. The bacteria that start the fermentation process are anaerobic, meaning they thrive in low oxygen states, like being submerged.
- Seal the container, leave a very slight crack to allow carbon dioxide to be released, otherwise you will have carbonated sauerkraut. The lid for my bucket that I got from Home Depot is perfect for this, as it has a screw cap valve on it.
- Place in a cool, dry area at 68 F or 20 C. Leave it for 3-6 weeks, depending on how strong you want it. If you use a food processor, it will take less time as your cabbage is shredded much finer. I have found that it will often be ready between in about 3.5 weeks, whereas if you shred using a knife only, you will want 4 or more weeks of fermentation time.
- Check on the sauerkraut the first couple of days to make sure that it has fully submerged. As long as all of the sauerkraut is submerged, you are good to go. If you find that there’s not enough liquid, add just enough 5% saline solution to cover the cabbage. Mix 1 tsp of your non-iodized salt in every 100 mL of water to make 5% saline solution.
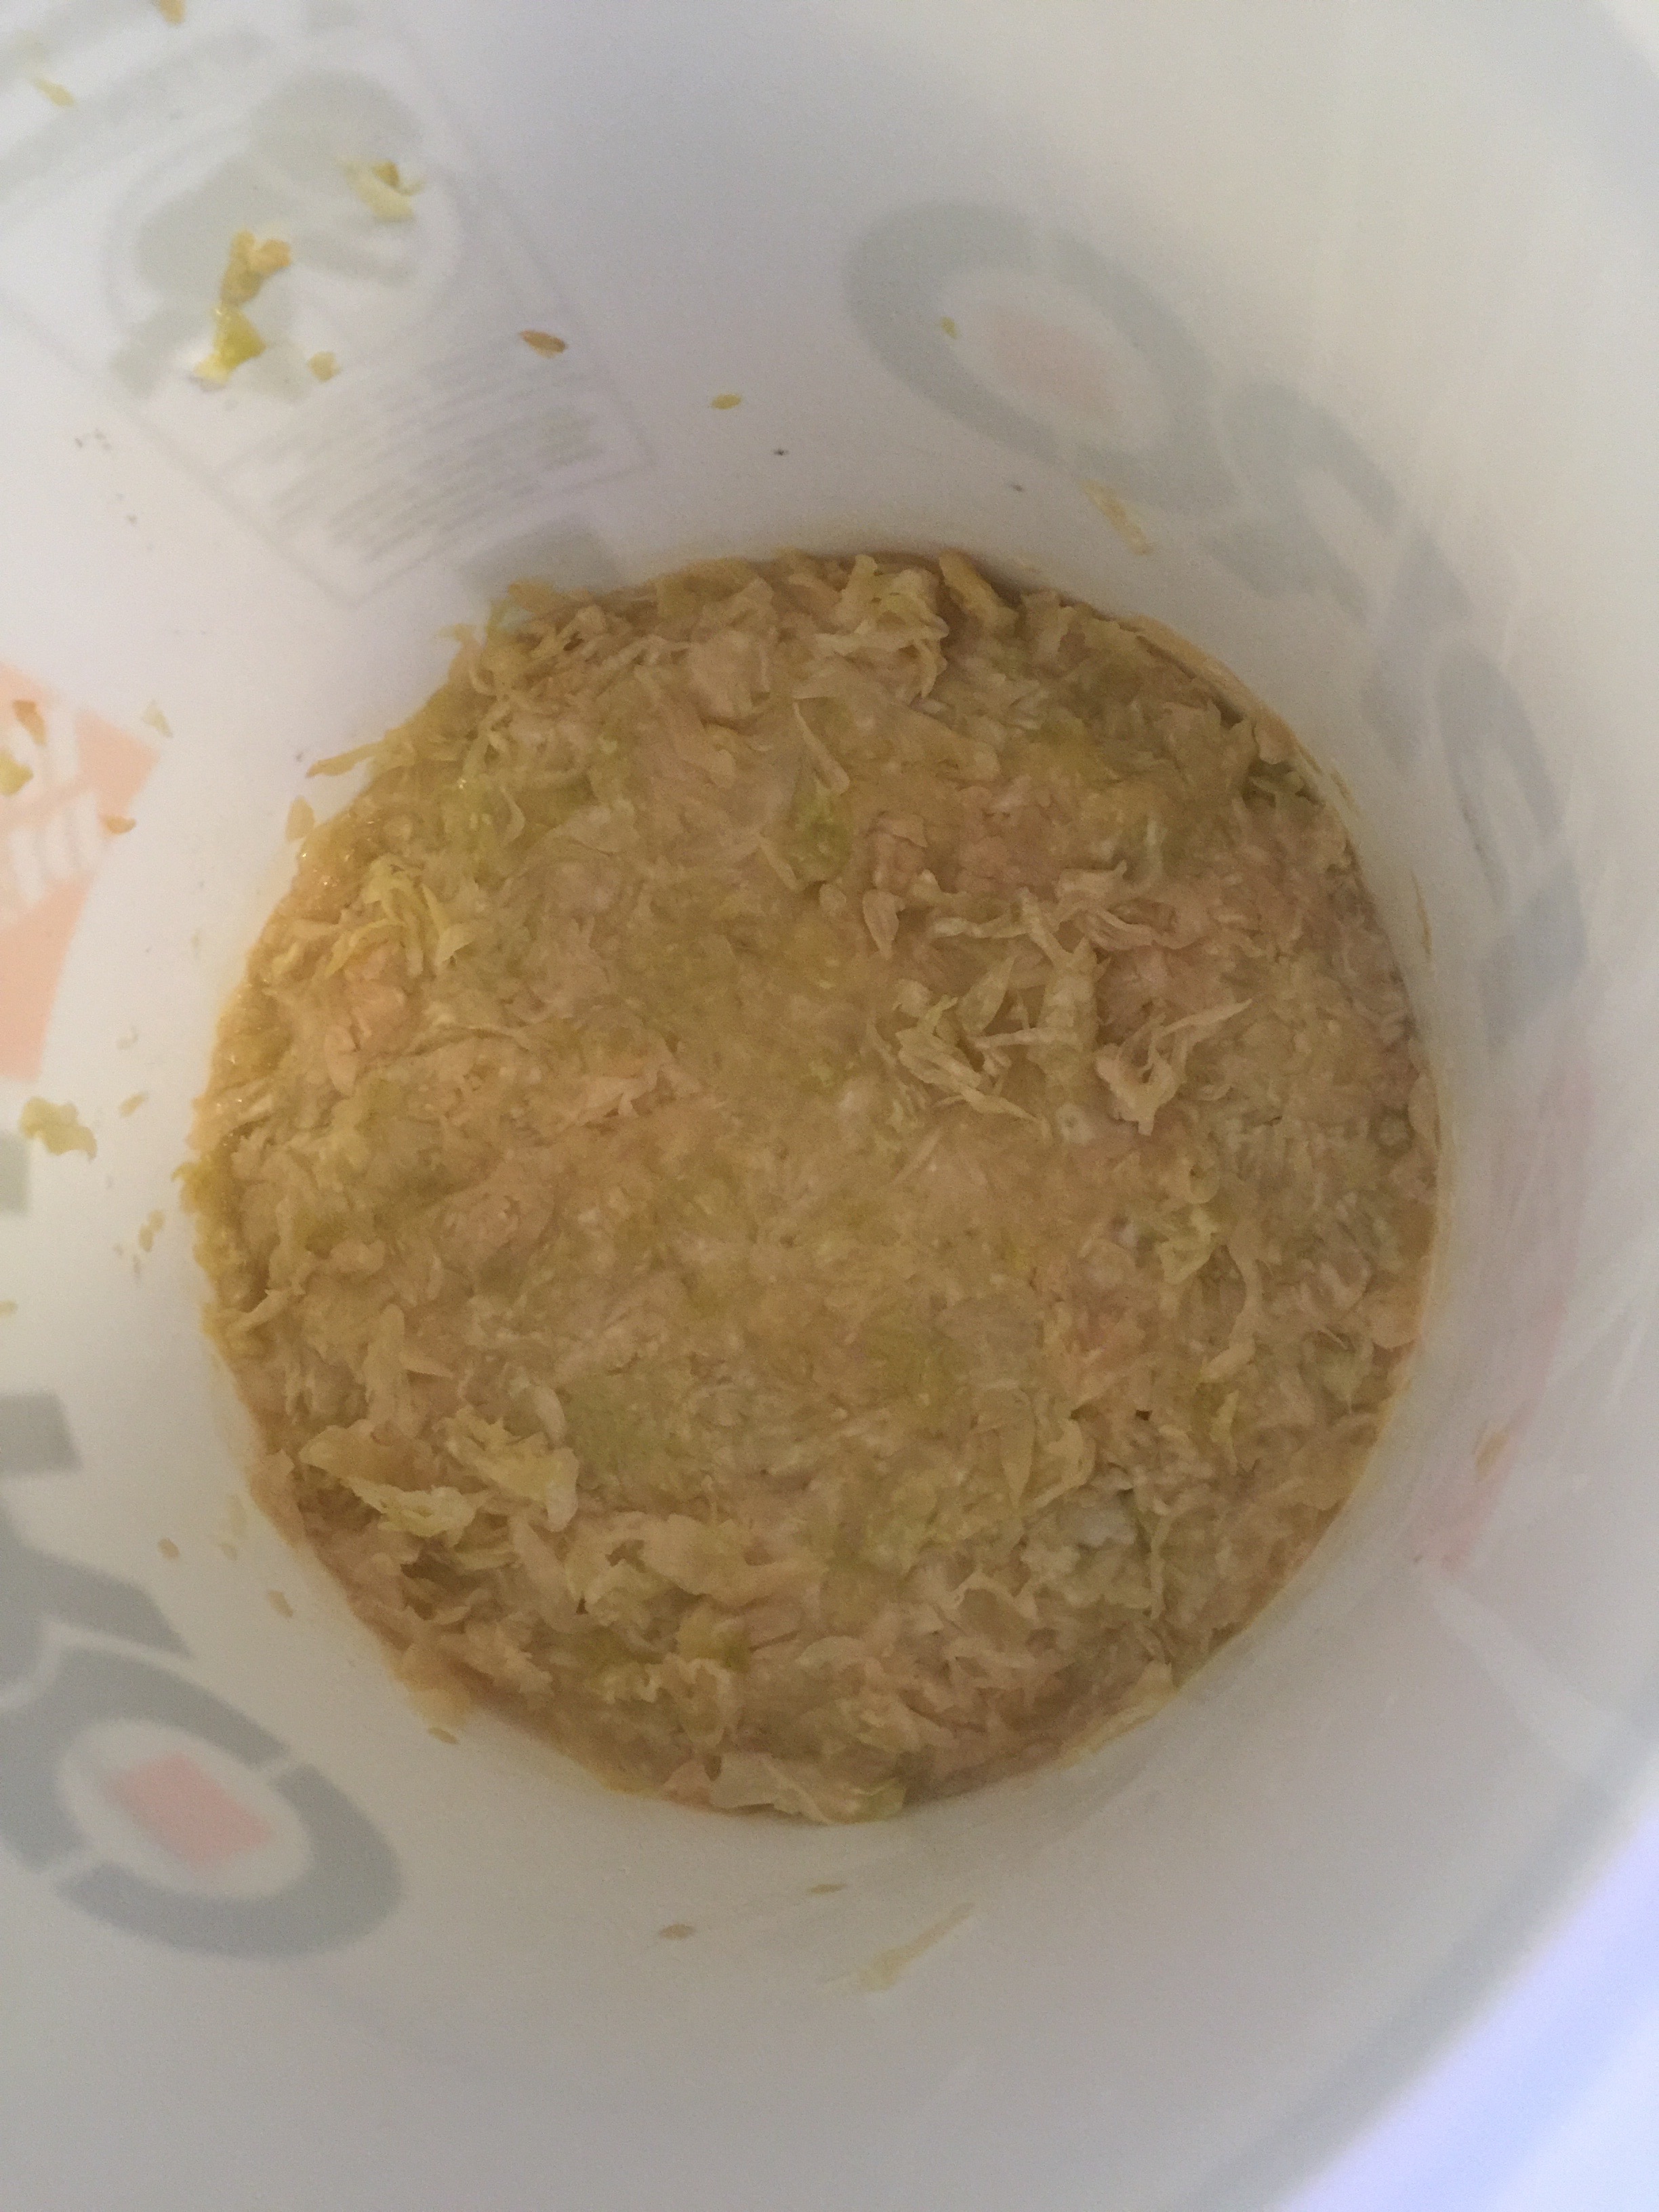
- Check your kraut every few days and if there’s any bubbly white foam on the surface, use a clean spoon or strainer to skim it off.
- Keep an eye on mould growing on the surface. If you’ve kept the lid sealed enough and maintained a sanitary environment in preparing it, you shouldn’t have any problem with this. If you happen to see any mould growing on your surface leaves or in any of you sauerkraut, remove it as soon as possible. Remove the entire surface leaf or cut a portion of it off, or scoop out the surrounding sauerkraut that has mould on it. Read more below in the FAQs, but if it's only a small area and you get to it soon, your sauerkraut should still be ok.
- You can taste test the kraut at each week interval to determine when it is done to your preference. Or just wait until the four weeks are done.
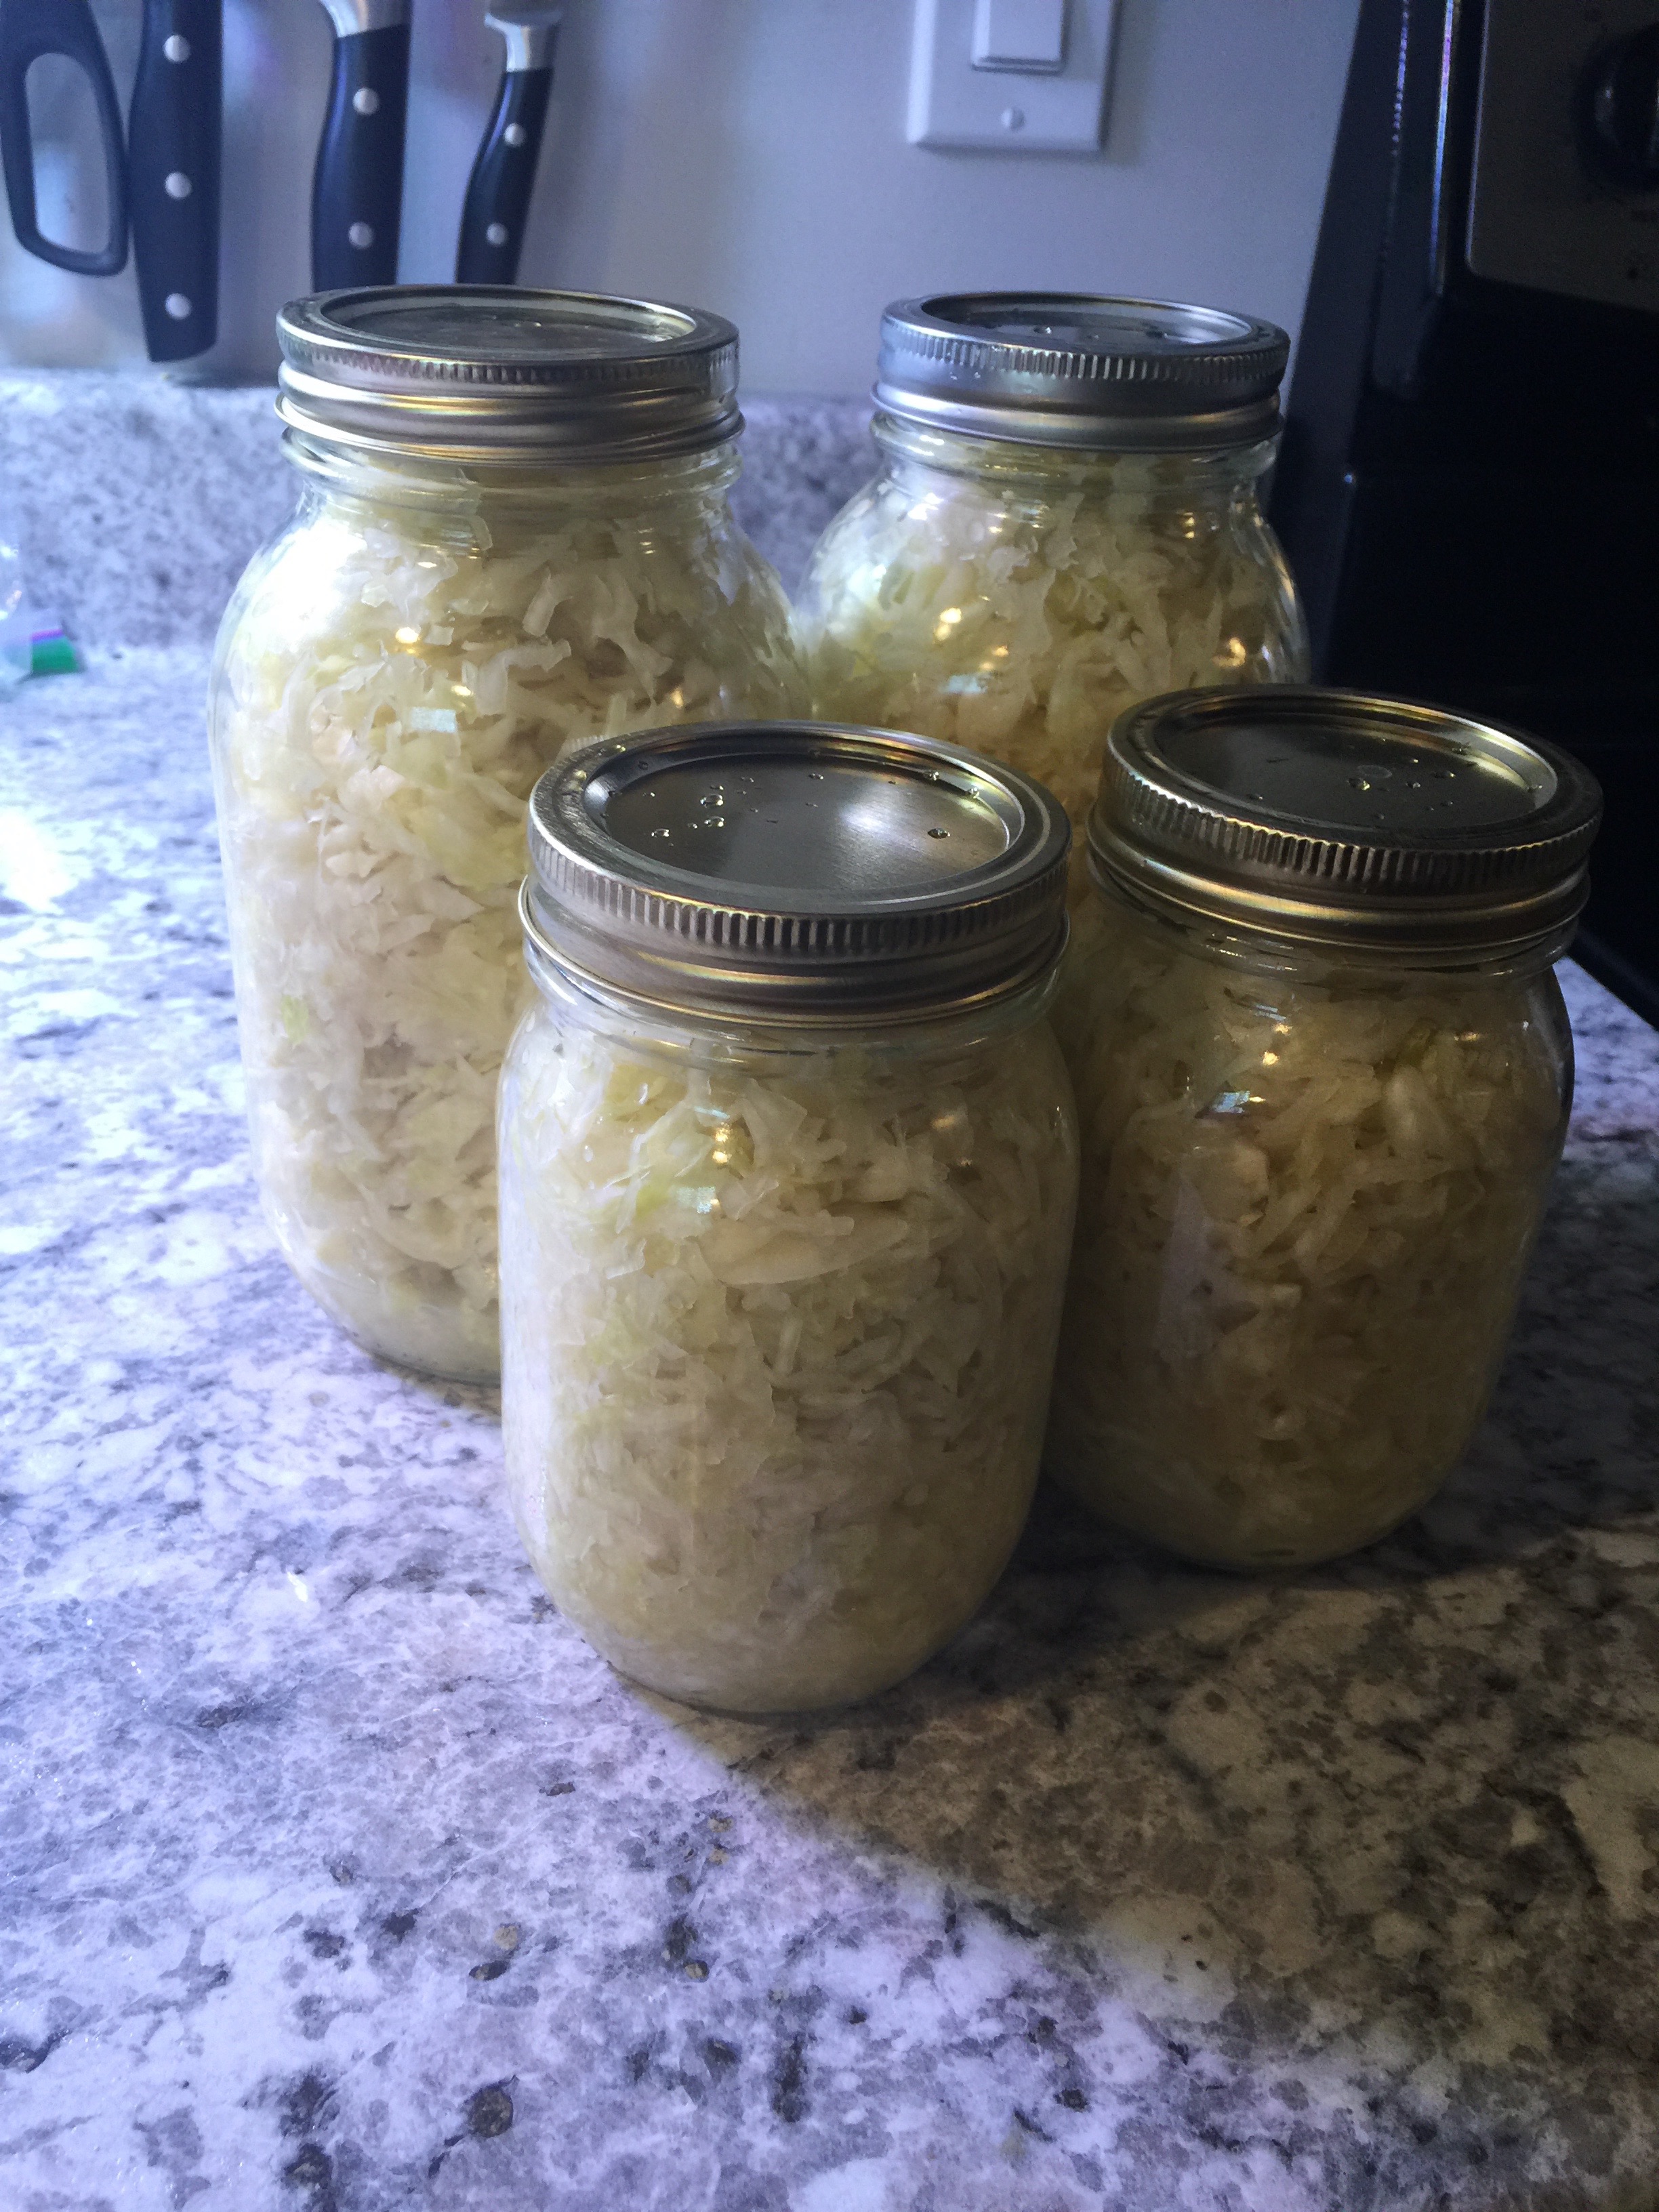
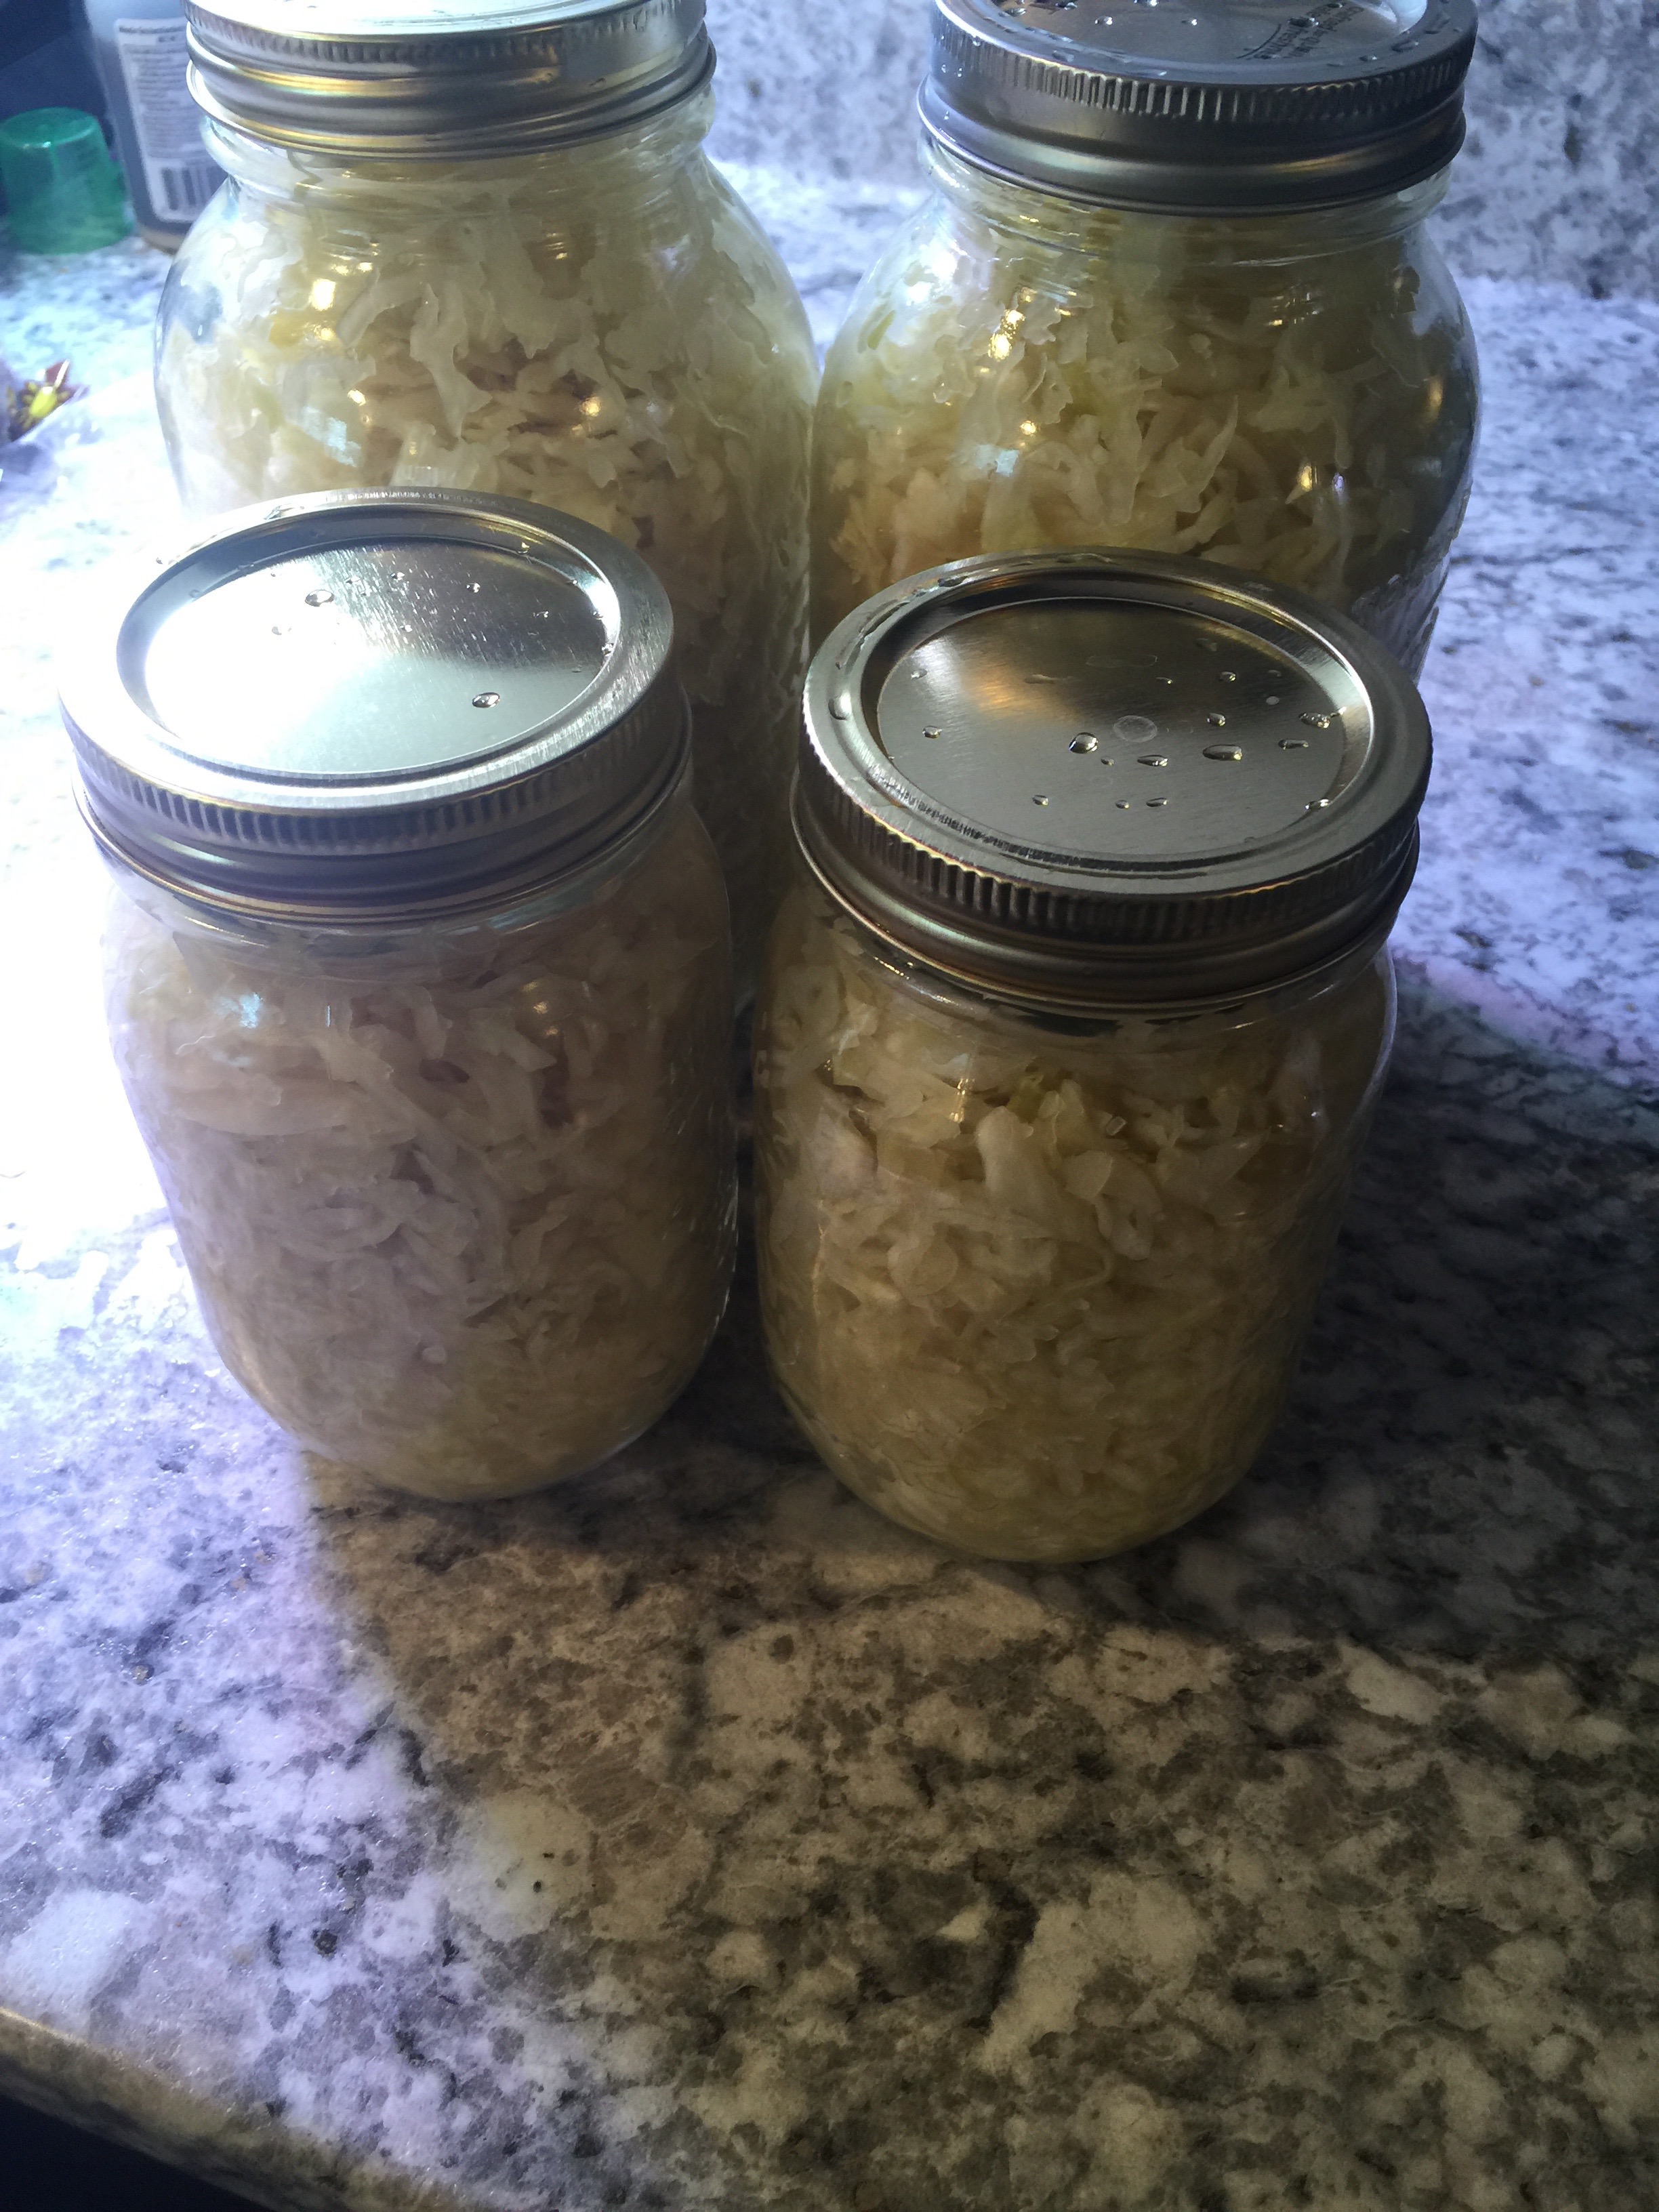
- Once you are ready to stop the fermentation, get your clean glass jars ready.
- Use a boiling water bath to sanitize your glass jars and lids. Allow to cool before adding your sauerkraut.
- Fill your jars with sauerkraut and place in the fridge, or dig right in! Enjoy.
FAQs
Do you need pickling salt?
No, pickling salt is ideal and will save you some time, but I have found that a kosher salt works just as well after you grind it fine enough that it will disperse as a brine for your sauerkraut. Make sure that whatever salt you choose to use is iodine-free and additive-free, otherwise you'll get discolouration of your finished sauerkraut. This doesn't harm it, but does diminish the appeal.
Is it safe to use a plastic bucket?
Yes, as long as you use a food-grade plastic bucket that has a sealable lid, this works very well for fermenting your sauerkraut. Home Depot sells food-grade buckets for just a few dollars with the lids being separate. I found mine around the paint section.
Do you need a crock to make sauerkraut?
Crocks are the traditional method for fermenting foods and perhaps the rustic feel of using a crock will make you believe that your sauerkraut is better, but a food-grade plastic bucket can work just as well. I don't have a crock, but would love to one day compare my sauerkraut with the result of making it in a crock.
Can I cook my kraut?
One of the primary motivations for making your own sauerkraut is for the probiotics you get from a raw fermentation that is rare or expensive to find in store bought sauerkraut and other fermented foods. Ideally you should not cook or heat-treat your sauerkraut if you are trying to maximize it’s probiotic benefits. Depending on the severity of the heat treatment, the beneficial bacteria in your sauerkraut will be killed, which will reduce (but not completely eliminate) it's gut-health promoting effect. If you have a sauerkraut recipe that you particularly like and requires heating it, I would suggest that you only heat half of your kraut for the dish and then add the other half to your dish just before serving it, in order to maximize the probiotic bacteria benefits. Or you can buy some regular sauerkraut from the grocery store for the cooking part and add your probiotic sauerkraut to top it off at the table.
What do I do if my cabbage is mouldy?
The intact leaves that you covered your sauerkraut with act as an additional surface barrier to protect it from contamination. The probiotic bacteria involved in the fermentation process produce acid, which will prevent the growth of other bacteria and mould. Mould grows in aerobic environments, so if you keep the lid of your fermentation vessel closed as much as possible and only have enough of a crack to let carbon dioxide out, you shouldn’t have a problem. As long as the mould is only on the surface and you catch it quickly and remove it, you should be safe to continue with fermenting your sauerkraut and eating it.
This just spent weeks at room temperature is it safe?
Fermentation is one of the oldest food preservation methods and was used long before anyone knew about the health benefits of fermented foods, because of its usefulness and safety in preserving foods. The acid-producing bacteria that ferment foods act as a defence against pathogen growth, fighting off microbes that cause foodborne-illness. Once you are done with the fermentation process at room temperature, you should store your sauerkraut in the fridge.
How long will this keep in the fridge for?
This is the most delicious sauerkraut you’ll every eat, I’m surprised that it will last long enough for you to ask this question! The acidity of sauerkraut preserves it really well. Even if you make a large batch of 10 or 20 lb., you should still be within the safe time frame as sauerkraut will still be safe to eat after storing for several months. I wouldn’t keep it past 3 or 4 months. Also the bacteria in your sauerkraut will remain viable longer once refrigerated, but won't last indefinitely. You should definitely consume you sauerkraut within the first few months to maximize the probiotic benefits.
Time to Make another batch!
This was a bit of a divergence from my normal articles, but in case you haven't noticed already, you could say I'm passionate about fermented foods and the incredible health benefits they can provide for you.
I appreciate you taking the time to read this article and if you have read this far, please share this with anyone you know who loves sauerkraut or cares about improving their health with nutrition. And subscribe to my newsletter. I recap my week and share exclusive content with my newsletter readers only. You'll even get a FREE STRONGMAN eBOOK just for signing up!
What's your favourite fermented food? Leave a comment below! Also any other questions I forgot to include in the FAQs would be greatly appreciated.
Fortissimus