How To Make An Atlas Stone
Having your own set of Atlas stones is a sign that you’ve crossed the threshold as a strongman from being a weekend warrior to an athlete dedicated to getting better at the sport.
Atlas stones take up a ton of space and have limited applications outside of lifting them onto platforms, over bars, and occasionally carrying them for distance or pressing them overhead.
You’ve probably already looked online for Atlas stone molds and realized that you will need to dish out a couple hundred bucks for a plastic mold in order to make your Slater or Hybrid stones.
Today I’m going to show you how to make an atlas stone with your own stone mold from scratch.
Step 1 - Buy a stone mold.
Step 2 - Even if you are cheap and don’t want to spend the money on a plastic mold, buy a stone mold.
Step 3 - Only if you have some extensive practical experience that would make sense for you to try to make your own atlas stone mold should you proceed to DIY your own atlas stone mold. If you know how to fibreglass things, perfect, you can probably make it yourself. Even still, you should probably buy a stone mold.
All kidding aside, I have found after making my own Atlas stones that it will save a lot of time and difficulty to buy a stone mold instead of trying to mold it yourself. And the difference in cost turns out to not be as much as you might think.
If you’re like me and don’t do much in the way of messy arts and crafts with paper mache, plaster of Paris, or fibreglass, save yourself the headache and buy a stone mold. Your stones will come out more spherical and without much in the way of a flat spot on them.
You still think that you can do it all yourself and will make a perfect stone? Well, ok. Here’s how I made my Atlas stone molds using paper mache plus the cost of materials used to support the cement while it cured, the latter being the more costly part of the process.
Atlas Stone Mold DIY
I would have used the reusable fibreglass method if I had the experience with fibreglass but a couple of factors made that seem like a less-than-ideal method for me to go with:
a) the amount of fibreglass materials needed to make an atlas stone is quite expensive. You don’t end up saving much money by going through the hassle of making your own fibreglass mold.
b) you’ve got to be better prepared with safety equipment like a respirator or mask when fibreglassing and I didn’t want to bother with that.
c) I had most of the materials ready to try to use a paper mache method.
Get The Guide To Maximizing Your Strongman Competition Performance

Download For Free
Using paper mache for an atlas stone mold
What you’ll need:
A newspaper
A bag of flour - at least 4-6 cups worth.
A measuring cup
Water - equivalent to the amount of flour you use.
An exercise ball with your desired stone diameter.
This method works alright if you just want an Atlas stone to train with in your backyard or gym that won’t be used in competition. Unless you do a masterful job I wouldn’t want to encounter one of these paper mache molded stones in competition.
Paper mache can easily be made using flour, water, and newspaper. By applying this around an exercise ball that is the desired diameter of your Atlas stone, you can have a stone mold ready in about a day using these household supplies. This method also allows you to preserve your exercise ball for reuse when you are done making the mold. By paying less up front you will be paying more with the time needed to be spent preparing molds each time you want to make another stone.

Start by cutting or tearing your newspaper into strips 2 inches wide.
In a large mixing bowl, use a 1:1 ratio of flour and water. You will be using a lot of flour for several layers on your atlas stone - at least 4-6 cups if you want to cover it well. Mix out all the clumps in the flour until you have a thick glue-like paste.
Make sure your exercise ball is nice and full of air and place it on a table or surface for working. Use a bucket or small box to stand the ball on so that it cannot roll away on you while you work.
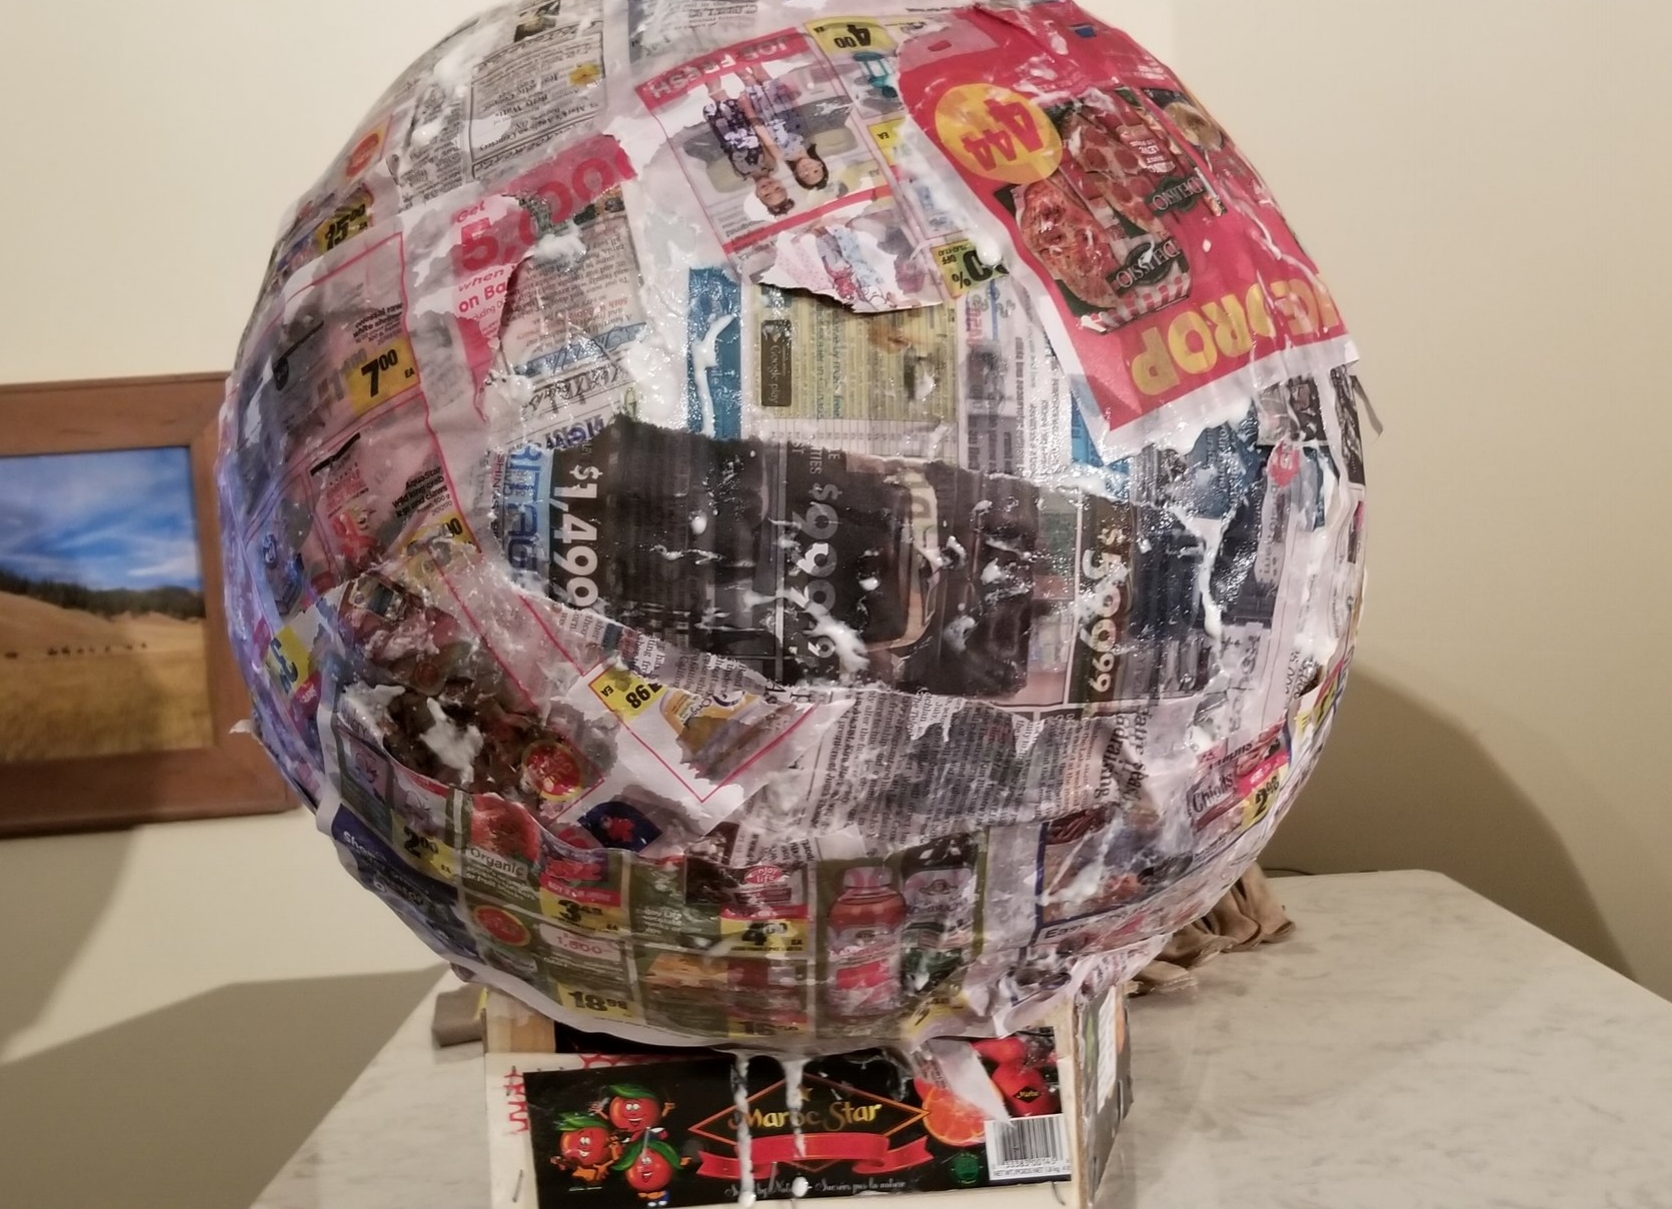
Lightly dredge each strip of newspaper and apply it to the exercise ball. Avoid applying any clumps that can end up making your stone mold come out uneven.
Save the space that your bucket or other prop left open so that you can deflate and remove your exercise ball once the paper mache is dry.
After covering the ball and checking for open spots, you can apply a second layer immediately or wait a day and apply another layer then if you are patient enough. By letting the first layer dry it can be easier to see if you have any gaps or weak points in your mold.
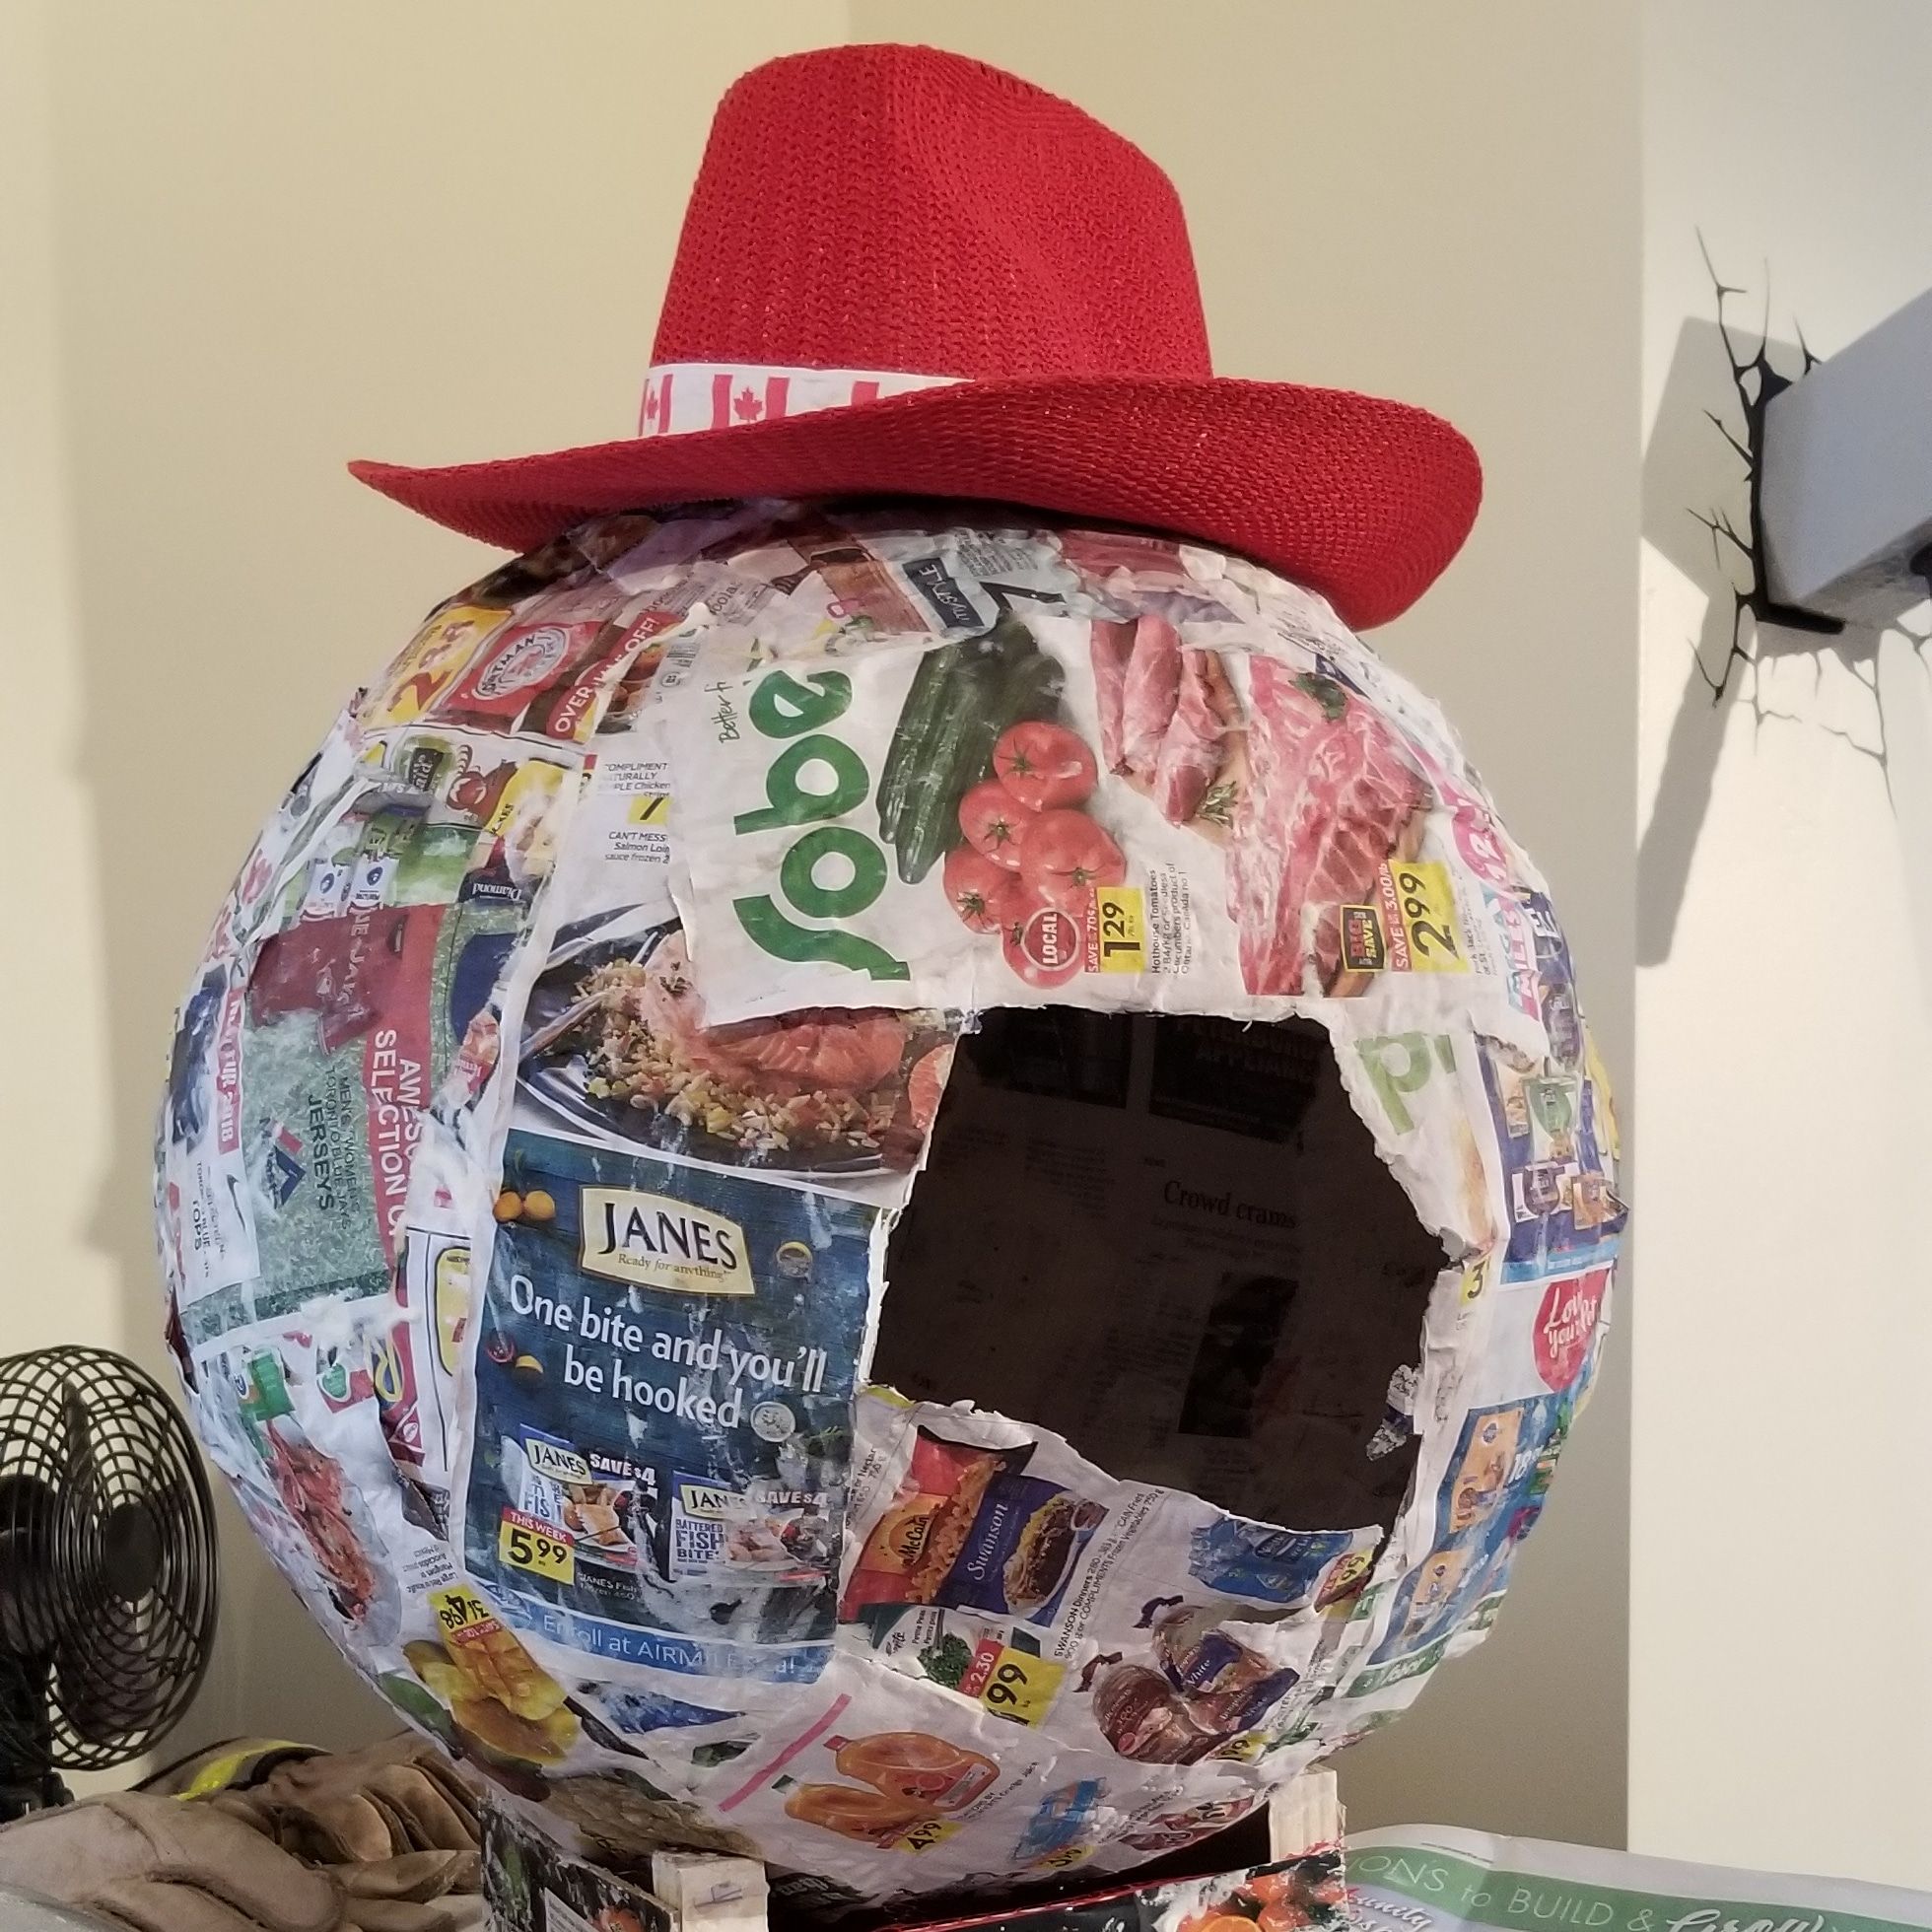
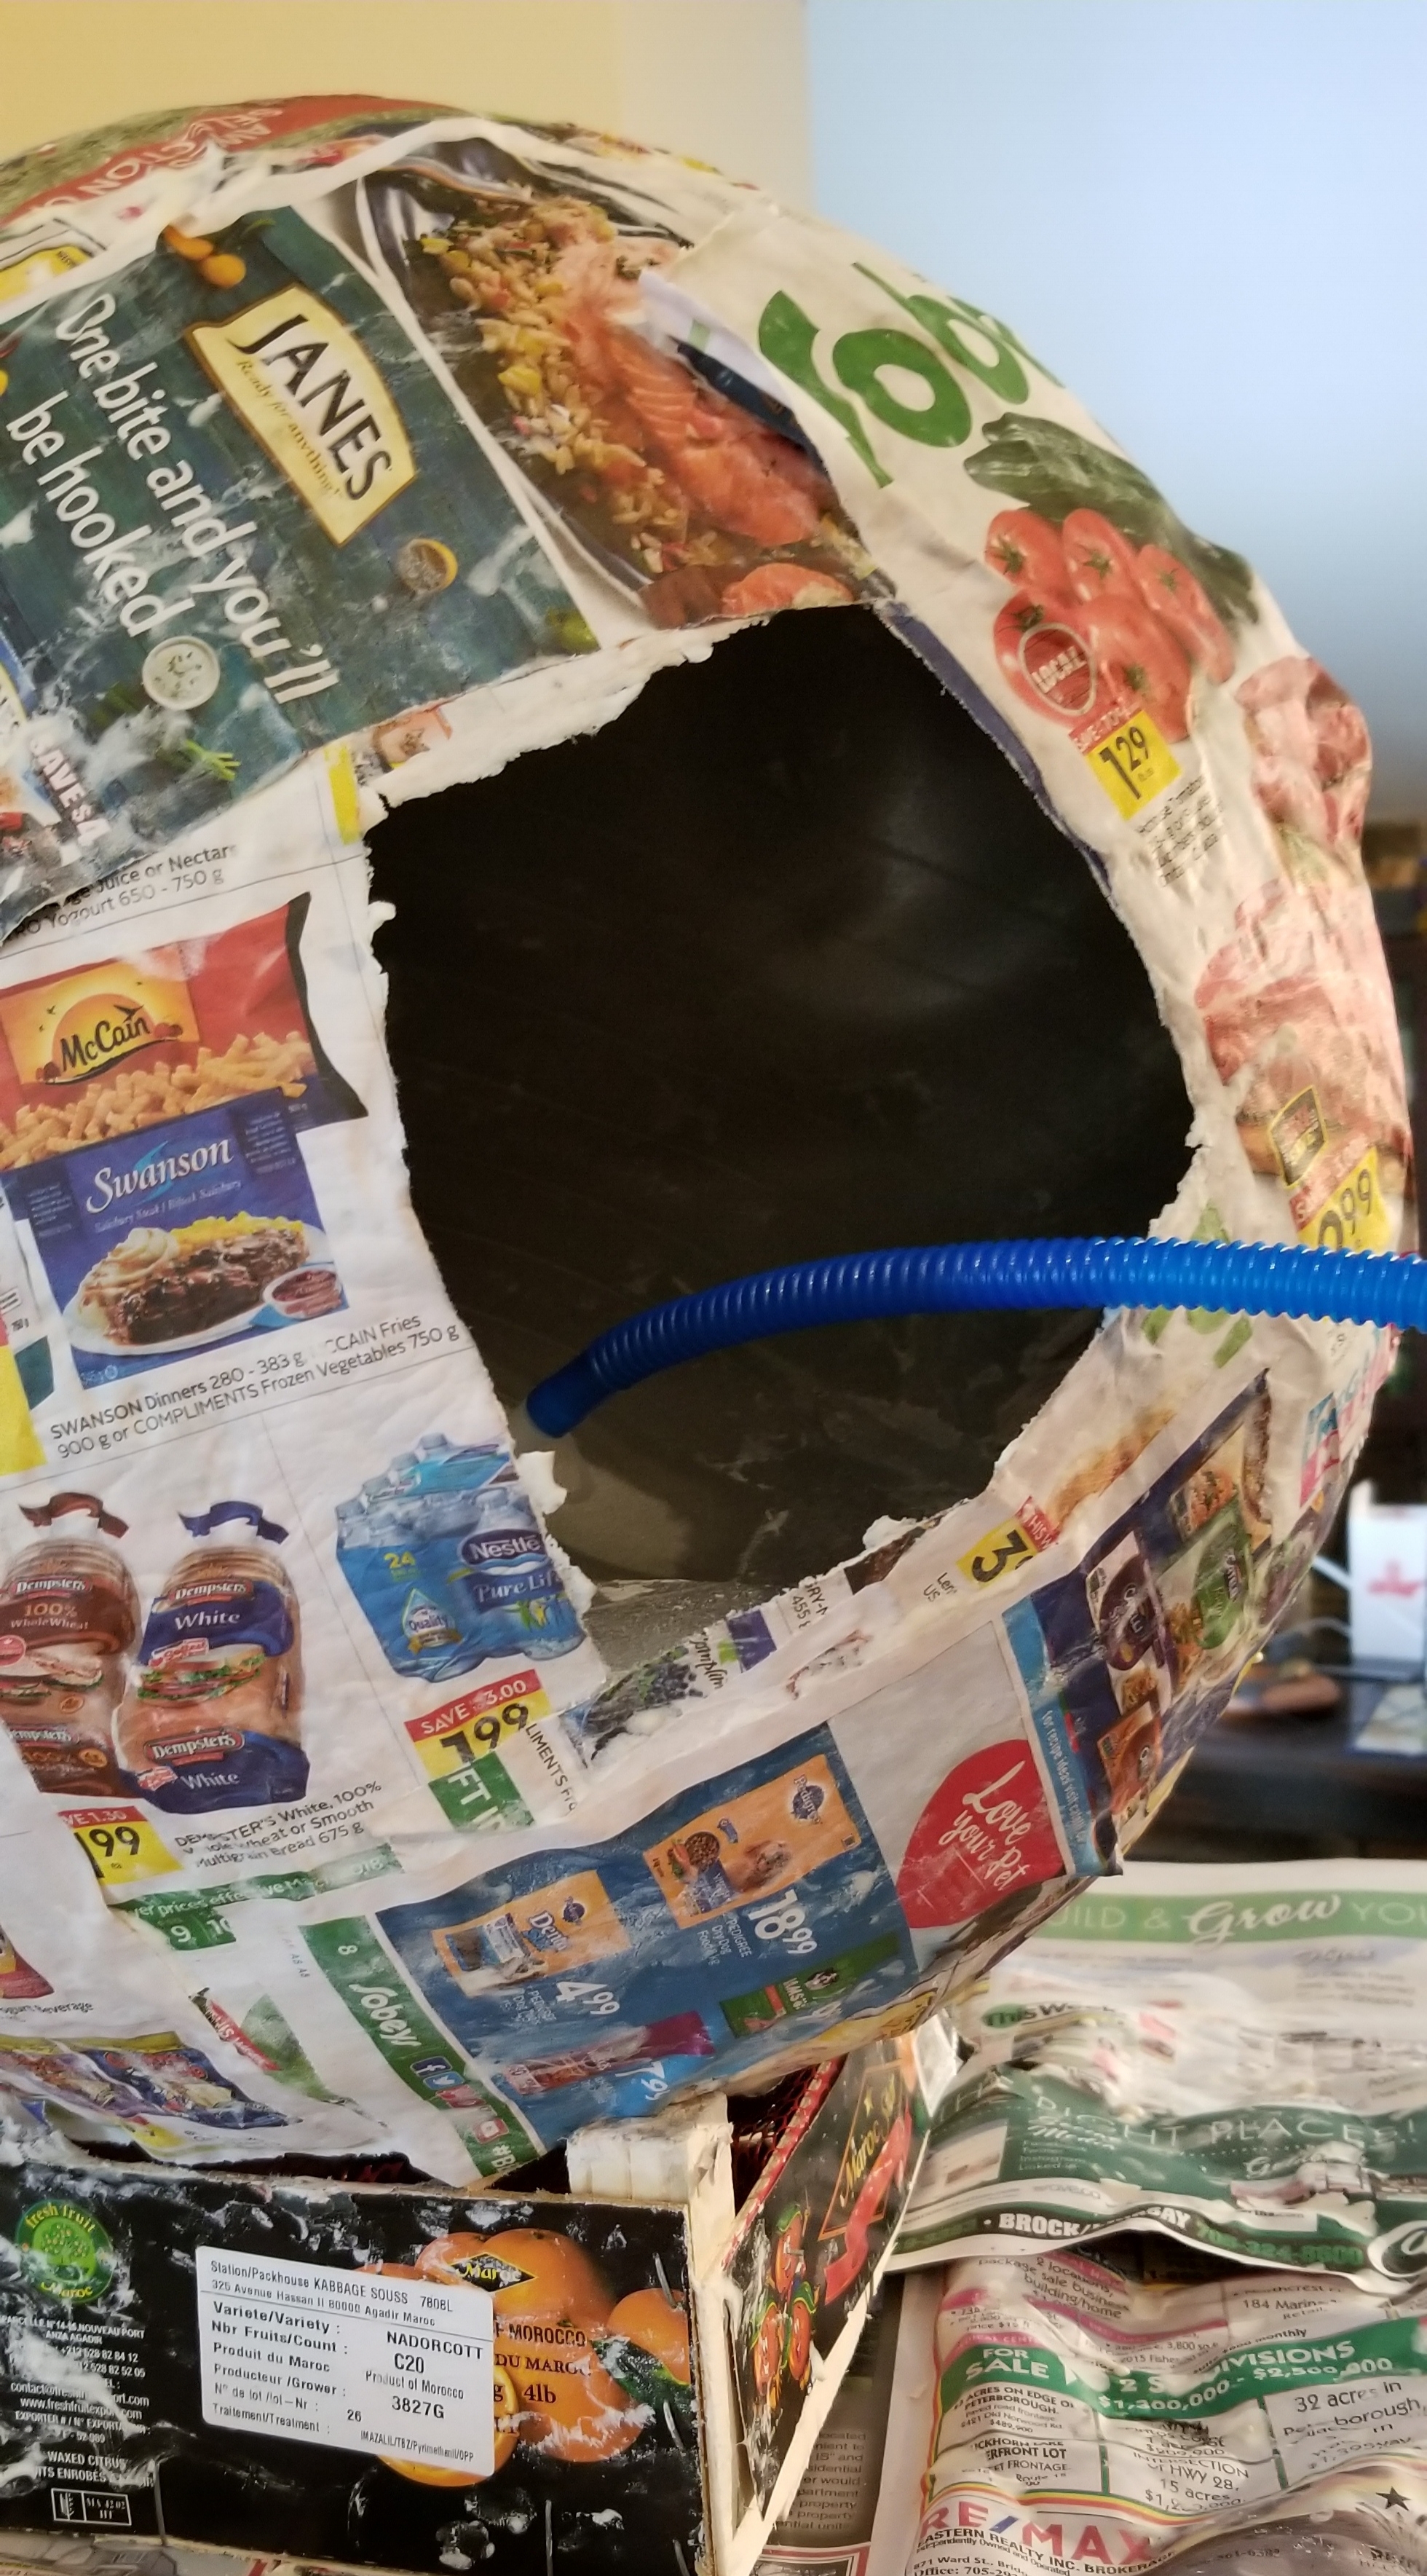
Once you’ve applied several layers of paper mache and given it enough time to dry completely, deflate your exercise ball and carefully remove it through the opening you’ve left in the mold.
You can reinforce and narrow the opening if you’ve made it too big after the ball is removed.
Now you are ready to prepare the next part of our stone mold DIY project - the case.
Paper mache isn’t strong enough on its own to contain the cement that you pour into it. Not only would the gravitational force alone be strong enough to explode the paper mache but when dealing with wet cement, the paper mache will soften and weaken even further.
Essentially the paper mache is making a negative space into which we will pour concrete into a sandbox.
Just like a metal worker would use a cast in a sandbox to pour bronze, we will be doing the same sort of thing.

Building the sandbox is another one of the reasons why you’re not saving much money in the long run with a DIY Atlas stone mold of any sort. You will need to buy the boards and plywood to create the cube, as well as enough sand to fill in around the stone mold. If you know what sizes of stones you will primarily be making, you can closely match your box to the stone diameter to minimize the space that needs to be filled with sand.
I have heard that using plaster of Paris, you can get away with not using a sandbox shell around the stone mold and it will still preserve your exercise ball for reuse so it may be the most affordable choice of all.
Building The Box

What you’ll need:
2x4s for a total of about 20-24 feet depending on the largest size of stone you will be making.
24 feet of plywood 3/4 - 1 inch thick - ensure each square you cut will cover one side of the box you are making.
4 inch screws for the frame.
1.5 - 2 inch screws for the plywood.
Enough sand to fill around the stone mold (see the calculations below in step 4)
Cordless screwdriver and saws for cutting and forming your box.

Measure and cut the 12 pieces of 2x4 for your cube. You will need somewhere between a box that is 22-24 inches cubed.
Cut five pieces of plywood for the bottom and sides of your box. You can also create a top piece if you are working outside and don’t have a tarp or anything else to cover your box with.
Leave the top and one side of the box open to start the filling process.
Make sure you have enough sand to cover up the stone mold nearly to the top before beginning. You can determine the cubic feet of sand you will need by calculating the volume of your box up to the top of the stone and subtracting the volume of the stone.
Cover the bottom of the box in a layer of sand to nest the stone mold in.
Place the stone mold, attach the fourth side of the box and begin filling in the empty space around the stone mold with sand.
Cover a quarter of the stone before starting the cement adding process.
If you cut your bags of sand carefully across the top seam you will be able to save your sand for repeating this process with future stones.

Cover about a quarter of the stone mold with sand before starting to fill with cement.
Mixing Cement for the Atlas Stone
You want to use a high PSI cement for making your atlas stone. Don’t skimp out and use the cheapest bags of cement because that stuff isn’t as strong and will crack apart on impact. It is recommended that you use 5000 psi or greater concrete mix. Slater and other Atlas stone specialists sell fibres that can be added to an Atlas stone to help strengthen it. I found 6000 PSI concrete mix at Home Depot that contains fibres already in the mix which is great for the needs of stone making.

Make sure that you have enough cement mix before starting the process.
Especially when it is hot outside, your cement will start to harden very quickly and you can’t add more cement later to fill out a stone with a cavity.
You can use a stone calculator to determine how much cement you will need - the weight of the stone- based on the size of your stone.
You can use a bucket, wheelbarrow, or cement mixing bag to mix the cement. It’s up to your personal preference because all methods require a lot of work.
Unless you are using a cement mixing bag with the measurements on the bag, mix your cement in a quarter to half a bag at a time.

Avoid making your cement too soupy, especially with a paper mache mold which will absorb some of that water and can lose its integrity.
Be sure to stir and disrupt the cement as you add it to the stone mold so that all the nooks and crannies get filled and any air bubbles come out of the mix.
Fill the stone mold right up to the brim but don’t overflow it with a paper mache mold as you’ll have a problem removing the cement and paper from the mold after it has cured.
Cover the box to shelter it from weather if doing this outside and allow it to sit for about 3-4 days. If it is very hot out you may only need to wait about 2 days before your stone is ready.
Once your stone is ready, start removing the sand from the box and adding it back into the bags if you’ve saved them.
Remove your stone from the box and peel off the paper mache mold to reveal the Atlas stone that you’ve created.
To own Atlas stones as a strongman is a sign that you’ve made it to the top of the food chain since they aren’t very versatile and they take up a ridiculous amount of space.